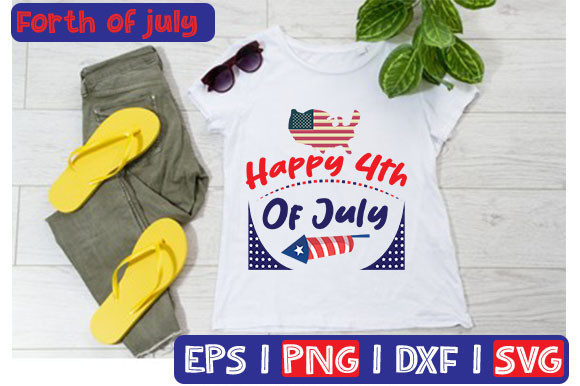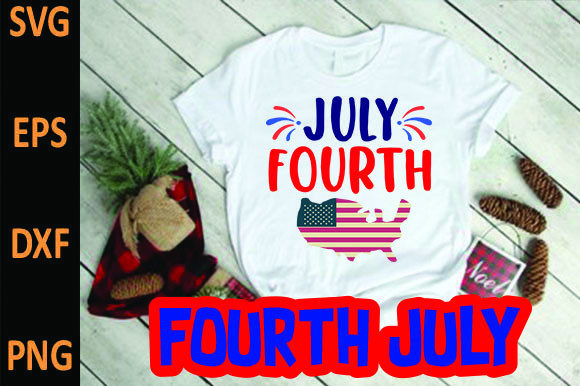
July Fourth Typography
A Designer’s First Look: Bold, Clean, and Unapologetically Patriotic
When I opened the July Fourth Typography files, my first thought wasn’t “cute” or “festive”—it was “this will hold up.” The design lands with confident simplicity: strong uppercase lettering, tight kerning, and a balanced rhythm across “USA,” “4TH OF JULY,” or standalone “JULY 4TH” variations (depending on the version included). There’s no excessive flourishes, no fragile serifs, no thin hairlines that vanish under thread. That’s huge. As someone who’s stitched hundreds of holiday designs onto everything from gauzy baby onesies to heavyweight denim tote bags, I know how easily typography collapses in embroidery—especially under satin stitch pressure or on uneven fabric. This one breathes. It gives the machine room.
Where It Shines: Real Projects, Real Customers
Last week, I used July Fourth Typography to embroider a set of cotton canvas aprons for a local bakery’s Independence Day pop-up. No applique, no backing graphics—just the clean lettering centered on the chest pocket. The result? Instant recognition, zero squinting, and a polished handmade product that felt intentional—not like a clipart afterthought. That’s the sweet spot: custom apparel where clarity trumps complexity. Think sweatshirt embroidery for family reunions, embroidered patches for scout troops, tea towels for boutique gift shops, or pillow covers for nursery decor with subtle Americana flair. It also works beautifully as a standalone element on the front of a toddler’s reversible cap—no crowding, no distortion, just bold, legible pride.
For Etsy sellers and small shop owners, this is low-risk, high-return design assets. You can pair it with simple stars or stripes motifs—or leave it solo—and still communicate the holiday instantly. Customers scanning your listings for “4th of July t-shirt designs” or “holiday embroidery file” will pause here. Why? Because it reads well even in thumbnail size. That matters for digital embroidery file previews and printable mockups alike.
Watch These Spots—Especially If You Stitch Often
Don’t assume July Fourth Typography is foolproof everywhere. On stretchy knit t-shirts? Proceed carefully. Even with excellent stabilizer, tight letter spacing can pull slightly if the fill stitch density is high—so always test on scrap fabric first, especially if you’re layering it over seams or curved surfaces like cap fronts. Thin fabrics like lightweight muslin or linen blends need lighter stitch density settings; otherwise, the letters can stiffen unnaturally or show stabilizer shadow. And on dark fabric? Check your thread colors. A navy-blue thread on black twill won’t pop—go for bright white, kelly green, or true red to keep that patriotic energy alive.
Also: avoid cramming it into tiny hoops. While the design isn’t overly intricate, those solid letterforms need breathing room. If your hoop is under 4x4 inches, consider simplifying to just “4TH” or “USA” — not because the file won’t scale, but because dense satin stitch in cramped space invites puckering. And skip textured fabrics like heavy terry cloth unless you’re using cutaway + tear-away combo stabilizer. The texture fights the smoothness the design relies on.
What It Does for Your Brand—and Your Buyers
This isn’t just a graphic—it’s a tone-setter. When customers see July Fourth Typography on your finished product, they register professionalism, consistency, and care. It doesn’t scream “digital download”; it says “designed for real use.” That builds trust—especially for personalized gifts or boutique branding where handmade presentation matters. A client ordering a custom embroidered blanket for their grandkids’ holiday picnic doesn’t want something that looks like it came off a mass-printed greeting card. They want heirloom-ready clarity. This delivers.
For craft business owners, that perception translates directly to perceived value. You can confidently price higher than generic script fonts because July Fourth Typography balances visual weight and versatility without sacrificing readability. And for commercial embroidery projects—say, stitching 50 matching staff polo shirts for a fireworks festival vendor—the design stitches cleanly across machines and fabric types, reducing rework and thread breaks.
Your Practical Checklist Before Stitching
- Test the embroidery file on scrap fabric *first*, using your exact stabilizer + thread combo.
- Review stitch density—if it feels heavy, reduce fill stitch % slightly for better drape on apparel.
- Confirm hoop size compatibility before loading into your machine; don’t force a large layout into a small hoop.
- Inspect corners and inner curves (like the counter of “O” or “D”) for potential thread nesting—adjust trim points if needed.
- Try black-and-white mockups to gauge contrast on light vs. dark fabric backgrounds.
- Use proper stabilizer: medium cutaway for knits, tear-away for stable wovens, fusible for lightweight linens.
- Double-check licensing terms before selling finished items or reselling the digital embroidery file—you’ll need clear commercial rights for Etsy or wholesale.
Final Thought: Less Is More—And This Gets It Right
July Fourth Typography doesn’t try to be everything. It doesn’t mimic hand-lettering or add confetti bursts or animated flames. It’s a focused, functional, and quietly confident T-Shirt Designs asset—one that understands its role in the embroidery project ecosystem. Whether you're prepping holiday gifts, building a seasonal collection for your craft business, or sourcing reliable graphics for your next batch of custom apparel, this design earns its place in your library. It’s not flashy—but it’s faithful. And in embroidery, faithful wins every time.