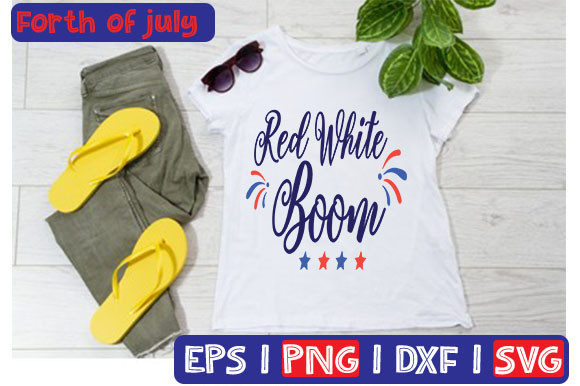
Red White Boom: A Designer’s Real-World Embroidery Review
As someone who’s stitched hundreds of holiday designs—from Fourth of July tees for local food trucks to nursery pillows for Etsy clients—I opened Red White Boom expecting boldness, but what stood out first was its *intentionality*. This isn’t just patriotic lettering slapped together. It’s a tightly composed typography design with rhythmic spacing, confident kerning, and a visual weight that reads clearly at 3 inches—and still holds up when scaled to 6 inches on a tote bag or apron.
I tested Red White Boom on a midweight cotton twill tote for a small boutique client launching a summer collection. The goal? A clean, handmade-but-polished look—no screen-printed flatness, no pixelated edges. What I got after hooping, stabilizing, and stitching was exactly that: crisp letterforms with subtle texture from satin-stitched outlines and balanced fill areas. The “Boom” hits with impact—not because it’s oversized, but because the contrast between tight “Red White” and the expanded “Boom” creates natural visual momentum.
This design lives best where personality meets practicality: embroidered sweatshirt fronts, baby onesie chest placements (keep it above the snap line), denim jacket patches, kitchen tea towels, and even reversible pillow covers where one side features Red White Boom and the other a coordinating star motif. It’s not fussy—it doesn’t rely on tiny flourishes or micro-details that vanish under thread. That makes it unusually reliable across fabric types: stable on cotton blends, forgiving on light-to-midweight knits, and surprisingly legible on textured canvas or linen-look towels.
Where Red White Boom Shines—and Where It Needs Thought
Red White Boom works hard for custom apparel and small shop merchandise—but only when matched to the right context. On a lightweight t-shirt? Yes—if you use tear-away stabilizer and avoid overloading the fill stitch density. On a curved cap front? Proceed with caution: the horizontal stretch of the word “Boom” can distort if hooped too tightly or stitched without proper underlay. I recommend testing on scrap caps first and possibly shortening the design slightly for that application.
For baby embroidery, it’s a strong contender—but skip the satin-stitch-heavy version for newborn onesies. Opt instead for a simplified fill-stitch variant (if your software allows editing) or pair it with a soft, low-density applique base. And while the design looks sharp in black-and-white mockups, remember: red thread on dark fabric needs extra coverage. Test thread color contrast early—especially if you’re prepping digital mockups for an Etsy listing or wholesale catalog.
It’s also worth noting: Red White Boom is built for clarity, not complexity. There’s no intricate scrollwork, no layered shadows, no gradient fills. That’s a strength—not a limitation. It means faster stitch times, lower thread consumption, and fewer restarts due to thread breaks or tension hiccups. For a craft business turning around 20+ holiday orders in June, that reliability translates directly into profit margin and customer trust.
Design Assets That Support Real Work
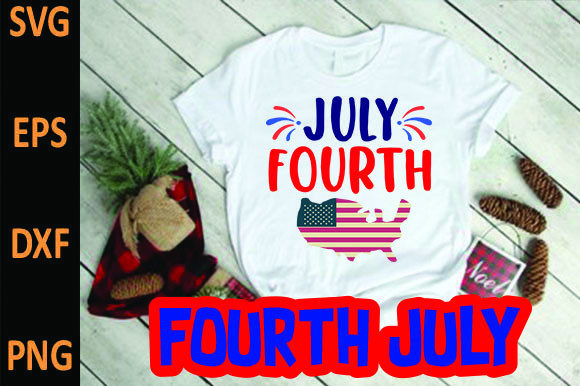
The file package—SVG, PNG with transparent background, DXF, EPS—is well-chosen for cross-platform flexibility. As a designer who moves between embroidery digitizing software, vector editors, and print-on-demand mockup tools, I appreciate having both editable vector formats and a clean raster option for quick social previews. The PNG lets me drop Red White Boom into Canva templates for Instagram posts or Etsy banners without wrestling with clipping masks.
That said: this is a typography-based machine embroidery design, not an applique design or multi-layered scenic layout. Don’t expect built-in jump stitches for multi-color changes or pre-optimized underlay for stretchy fabrics. Those decisions rest with you—the embroiderer. Which is fine. It’s meant to be adapted, not handed off as-is.
Practical Notes Every Embroidery Designer Should Check
- Test on scrap fabric first—especially if stitching on textured or dark garments. See how red thread bleeds or settles into weave.
- Review stitch density before running full production. High-density fills may pucker thin cotton; lighten them slightly for baby items or lightweight tees.
- Confirm hoop size compatibility. At standard scaling, Red White Boom fits comfortably in a 4×4 hoop—but verify your own layout before digitizing for larger hoops.
- Inspect small details manually: the dot over the “i” in “Red,” the tail of the “p” in “Boom.” Are they sized to survive stitching? They are—but only if your stabilizer matches your fabric.
- Try black-and-white mockups to assess value contrast. Does it read at arm’s length? Does it hold up in thumbnail size on an Etsy grid?
- Compare light vs. dark backgrounds using your actual thread palette—not default software colors.
- Use appropriate stabilizer: cutaway for knits, tear-away for stable wovens, fusible for lightweight linens.
- Confirm licensing terms before selling finished products or bundling Red White Boom into your own digital embroidery file packs.
For Etsy sellers and handmade shop owners, Red White Boom is more than a T-Shirt Design—it’s a versatile graphic asset that supports brand consistency across product lines. Pair it with simple star icons or striped borders, and you’ve got a cohesive holiday collection: embroidered sweatshirts, matching toddler bibs, linen napkins, and even iron-on patches for camp counselors or parade volunteers. Its straightforwardness makes it easy to photograph, style, and sell—not just as a standalone item, but as part of a thoughtfully curated handmade product system.
In short: Red White Boom earns its place in your design assets library not because it’s flashy, but because it’s functional, adaptable, and genuinely customer-ready. It doesn’t ask for special treatment—it just asks you to stitch it with intention. And when you do, it delivers: clean, confident, and unmistakably American in spirit—without shouting.